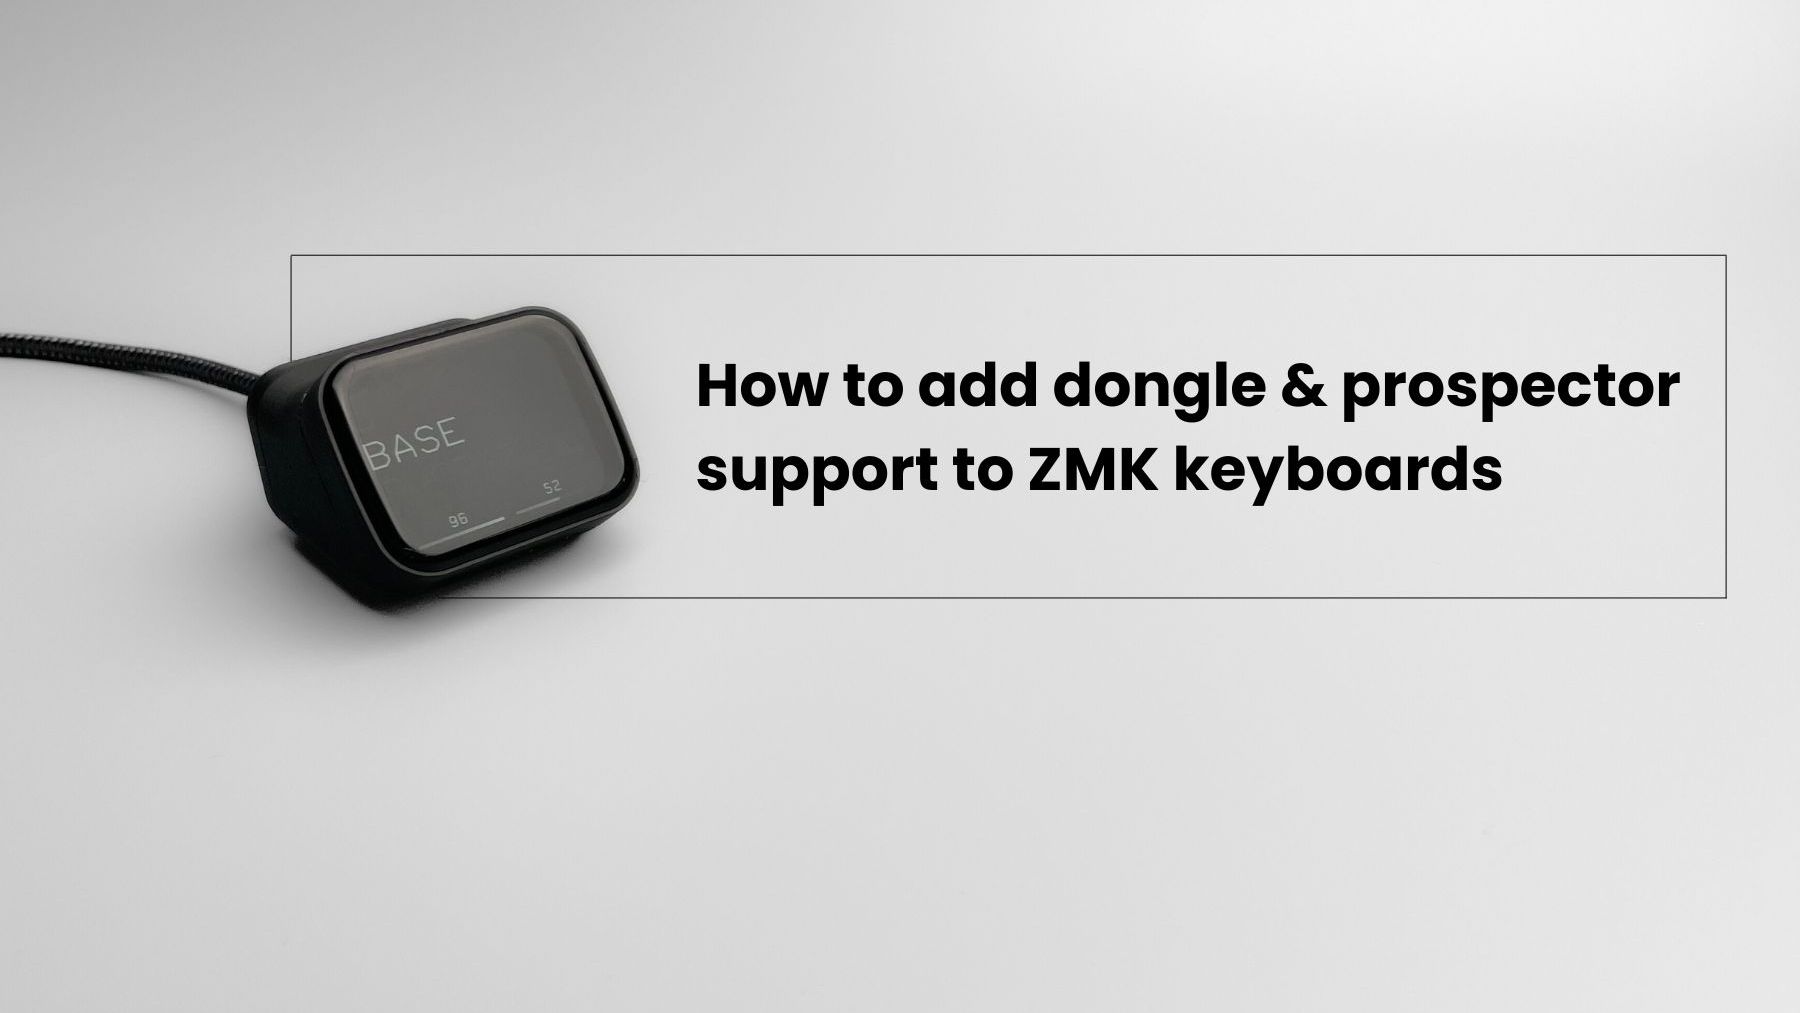
How to add dongle and prospector support to ZMK keyboards

This is a tutorial of how to add dongle and prospector support to existing ZMK keyboards. HSHS52 keyboard is used as an example, but other ZMK unibody and split keyboards can also be used.
The prospector is a ZMK dongle with a screen, created by carrefinho (https://github.com/carrefinho).
Useful Links
- https://zmk.dev/docs/development/hardware-integration/dongle
- https://github.com/carrefinho/prospector-zmk-module
- https://github.com/beekeeb/zmk-config-hshs
Add dongle support
As an example, the prospector dongle will be used as a dongle, but any BLE board that ZMK supports will work.
Fork the repo https://github.com/beekeeb/zmk-config-hshs and clone it to your local drive.
Kconfig.shield
Edit config/boards/shields/hshs52/Kconfig.shield, and append
config SHIELD_HSHS52_DONGLE
    def_bool $(shields_list_contains,hshs52_dongle)
The file becomes
config SHIELD_HSHS52_LEFT
    def_bool $(shields_list_contains,hshs52_left)

config SHIELD_HSHS52_RIGHT
    def_bool $(shields_list_contains,hshs52_right)

config SHIELD_HSHS52_DONGLE
    def_bool $(shields_list_contains,hshs52_dongle)
Kconfig.defconfig
Edit config/boards/shields/hshs52/Kconfig.defconfig, and append
if SHIELD_HSHS52_DONGLE

# Max 16 characters in keyboard name
config ZMK_KEYBOARD_NAME
    default "HSHS52"

config ZMK_SPLIT_ROLE_CENTRAL
    default y

config ZMK_SPLIT
    default y

# Set this to the number of peripherals your dongle will have.
# For a unibody, this would be 1. If you have left and right halves, set it to 2, etc.
config ZMK_SPLIT_BLE_CENTRAL_PERIPHERALS
    default 2

# Set this to ZMK_SPLIT_BLE_CENTRAL_PERIPHERALS + your desired number of BT profiles (default is 5)
config BT_MAX_CONN
    default 7

# Set this to the same number as BT_MAX_CONN
config BT_MAX_PAIRED
    default 7

endif
The section for if SHIELD_HSHS52_LEFT can be removed, because we do not want to use the left side as the central.
hshs52_dongle.overlay
Create config/boards/shields/hshs52/hshs52_dongle.overlay.
#include <dt-bindings/zmk/matrix_transform.h>

/ {
    chosen {
        zmk,kscan = &mock_kscan;
        zmk,matrix_transform = &default_transform;
    };

    mock_kscan: mock_kscan_0 {
        compatible = "zmk,kscan-mock";
        columns = <0>;
        rows = <0>;
        events = <0>;
    };

    default_transform: keymap_transform_0 {
        compatible = "zmk,matrix-transform";
        columns = <12>;
        rows = <5>;
// | SW1  | SW2  | SW3  | SW4  | SW5  | SW6  |                                   | SW6  | SW5  | SW4  | SW3  | SW2  | SW1  |
// | SW7  | SW8  | SW9  | SW10 | SW11 | SW12 |                                   | SW12 | SW11 | SW10 | SW9  | SW8  | SW7  |
// | SW13 | SW14 | SW15 | SW16 | SW17 | SW18 / SW19 /                     \ SW19 \ SW18 | SW17 | SW16 | SW15 | SW14 | SW13 |
// | SW20 | SW21 | SW22    | SW23 / SW24 / SW25 / SW26 /               \ SW26 \ SW25 \ SW24 \ SW23 |    SW22 | SW21 | SW20 |
        map = <
RC(0,0) RC(0,1) RC(0,2) RC(0,3) RC(0,4) RC(0,5)                                   RC(0,6) RC(0,7) RC(0,8) RC(0,9) RC(0,10) RC(0,11)
RC(1,0) RC(1,1) RC(1,2) RC(1,3) RC(1,4) RC(1,5)                                   RC(1,6) RC(1,7) RC(1,8) RC(1,9) RC(1,10) RC(1,11)
RC(2,0) RC(2,1) RC(2,2) RC(2,3) RC(2,4) RC(2,5) RC(4,5)                   RC(4,6) RC(2,6) RC(2,7) RC(2,8) RC(2,9) RC(2,10) RC(2,11)
RC(3,0) RC(3,1) RC(3,2)         RC(4,1) RC(4,2) RC(4,3) RC(4,4)   RC(4,7) RC(4,8) RC(4,9) RC(4,10)        RC(3,9) RC(3,10) RC(3,11)
        >;
    };
};
The official guide mentions physical_layout0 but for some reasons it didn’t work. default_transform is used directly here instead.
config/west.yml
Include prospector source files according to the instructions at https://github.com/carrefinho/prospector-zmk-module
manifest:
  remotes:
    - name: zmkfirmware
      url-base: https://github.com/zmkfirmware
    - name: carrefinho                            # <--- add this
      url-base: https://github.com/carrefinho     # <--- and this
  projects:
    - name: zmk
      remote: zmkfirmware
      revision: main
      import: app/west.yml
    - name: prospector-zmk-module                 # <--- and these
      remote: carrefinho                          # <---
      revision: main                              # <---
  self:
    path: config
build.yml
Update build.yaml
include:
  - board: nice_nano_v2
    shield: hshs52_left nice_view_adapter nice_view
    cmake-args: -DCONFIG_ZMK_SPLIT=y -DCONFIG_ZMK_SPLIT_ROLE_CENTRAL=n
  - board: nice_nano_v2
    shield: hshs52_right nice_view_adapter nice_view
    cmake-args: -DCONFIG_ZMK_SPLIT=y -DCONFIG_ZMK_SPLIT_ROLE_CENTRAL=n
  - board: nice_nano_v2
    shield: hshs46_left nice_view_adapter nice_view
    cmake-args: -DCONFIG_ZMK_SPLIT=y -DCONFIG_ZMK_SPLIT_ROLE_CENTRAL=n
  - board: nice_nano_v2
    shield: hshs46_right nice_view_adapter nice_view
    cmake-args: -DCONFIG_ZMK_SPLIT=y -DCONFIG_ZMK_SPLIT_ROLE_CENTRAL=n
  - board: nice_nano_v2
    shield: settings_reset
  - board: seeeduino_xiao_ble
    shield: settings_reset
  - board: seeeduino_xiao_ble
    shield: hshs52_dongle prospector_adapter
Flashing the settings firmware will be required. Do not power multiple devices at the same time when flashing the reset firmware.
Configure prospector brightness
Because I did not build prospector with the ambient light sensor, create config/hshs52.conf with
CONFIG_PROSPECTOR_USE_AMBIENT_LIGHT_SENSOR=n
CONFIG_PROSPECTOR_FIXED_BRIGHTNESS=80
Update layer names
The layer names show 0, 1, 2. To modify the layer name, add the names by editing the file config/boards/shields/hshs52/hshs52.keymap according to https://github.com/carrefinho/prospector-zmk-module?tab=readme-ov-file#usage
Compile
Push the changes to GitHub, and run the workflow at the Actions tab. The final example can be found at the repo http://github.com/beekeeb/zmk-config-hshs-with-prospector
Common Issues
Eject drive warning
The warning can safely be ignored.
The flashed firmware is not found in the USB drive
The USB mass storage device is for UF2 flashing. It is expected that the flashed firmware does not show up in the mounted USB drive.
Cannot pair
Make sure there are no powered ZMK devices. Flash the reset firmware on each device (dongle and split halves), then the ZMK firmware. In this guide, Xiao nRF52840 for the Dongle, and nice!nano v2 for the split halves are used. Check if the correct reset firmware is flashed.
No key strokes
At the prospector dongle, check if the USB cable is a data cable, but not a charging-only cable.
