Dactyl Manuform Mini DIY Ergonomic Mechanical Keyboard Build Log
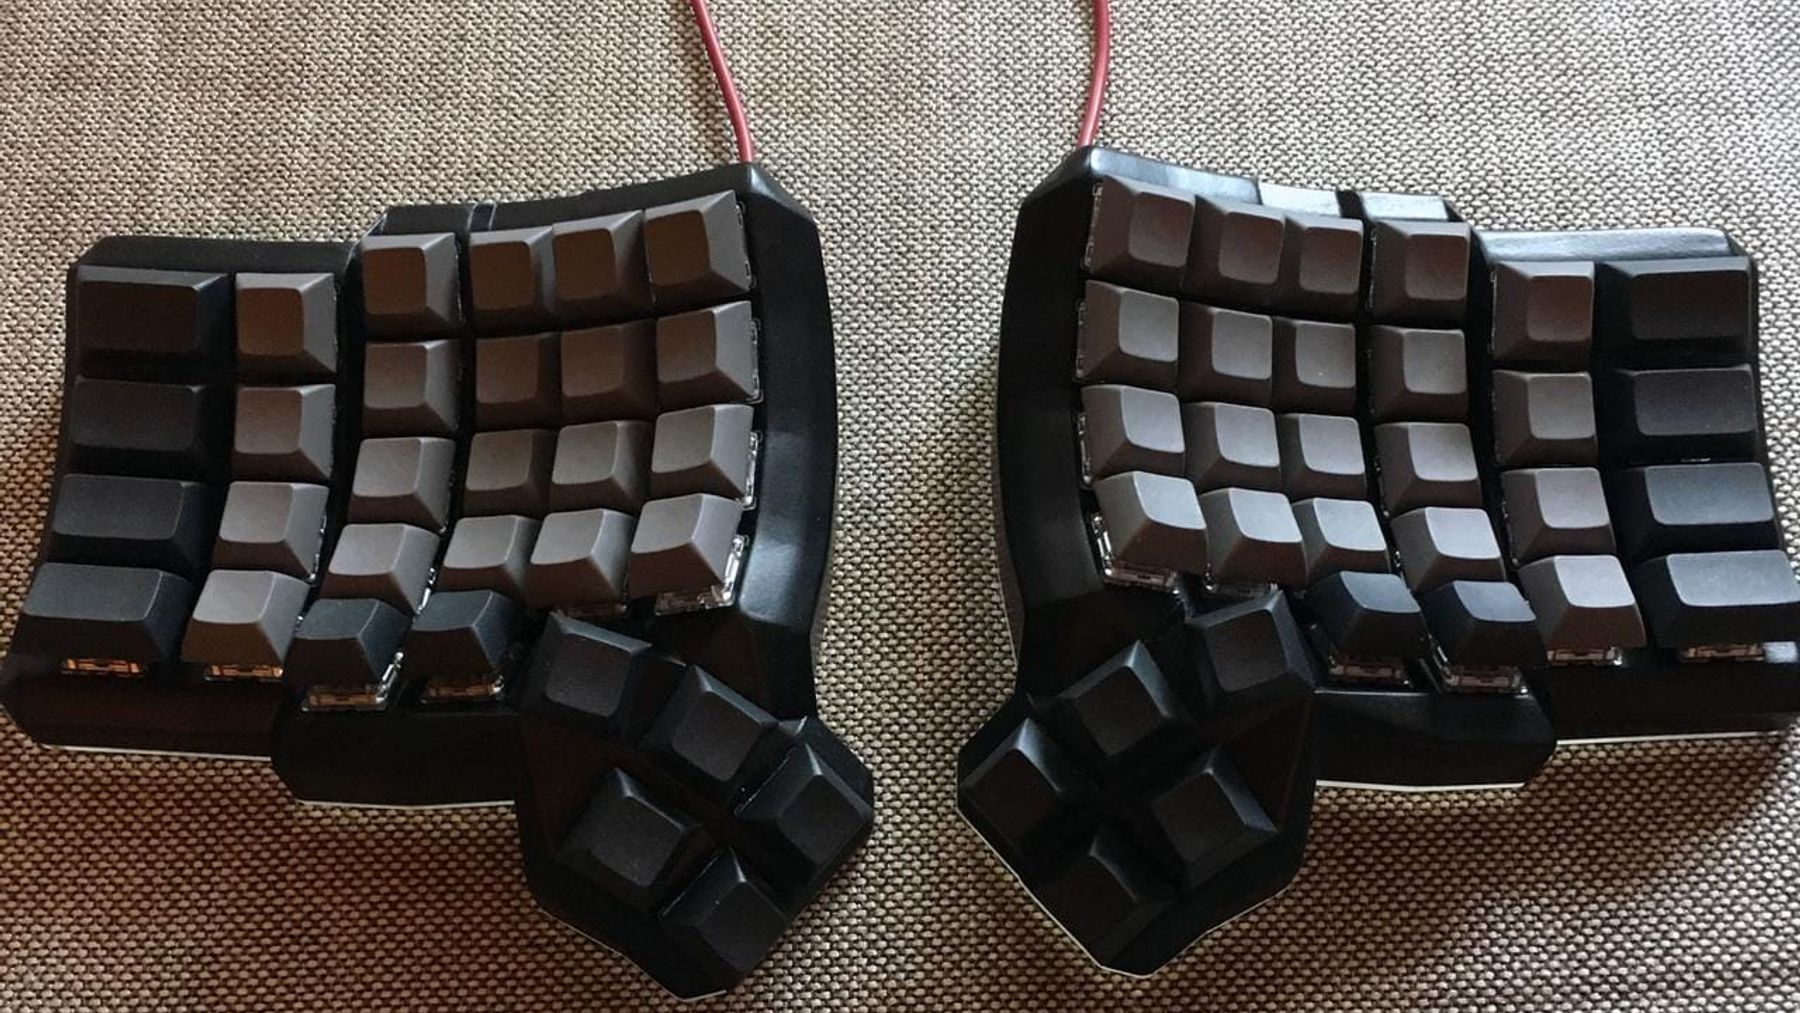
I’ve resumed the custom build service. Please email me for more info.
The Dactyl Manuform Mini is the first custom mechanical keyboard I built for others. I was lucky to receive this order while I was selling another keyboard on a Japanese marketplace app, Mercari.
The Dactyl Manuform Mini is a variant based on the original Dactyl-Manuform. The pinky keys are 1.5u. The overall keyboard height is minimized. 3.5mm TRRS jack is used. The wall thickness is very thin. There is one fewer key in the thumb fan cluster. A subset of the ErgoDox keycaps can be used.
The source code can be found on GitHub.
The resin case can be purchased at my shop.
Tools

- Respirator (3M 防毒マスク 塗装作業用マスクセット 1200/3311J-55-S)
- Primer – GSI Creos Mr. Surfacer 500 spray (Mr.サーフエーサー 500 スプレー)
- Paint – Asahipen black water-based spray (アサヒペン 水性多用途スプレー [300mL ツヤ消し黒])
- DIY smoke absorber
- Hakko solder (白光 FS402-03 [すず 60% 1.0×150g])
- Wire stripper (エンジニア PAW01 [オートマルチストリッパー])
- Reverse action tweezer (ミネシマ MINESHIMA F-18 [逆ピンセット 165mm])
- Nipper (ホーザン HOZAN N-9-150)
- Screwdriver bit (兼古製作所 ANEX アネックス ACHX-2065 [六角レンチカラービット 1 本組 対辺 2×65])
- Screwdriver (VESSEL ベッセル No.220W [ボールグリップ ビット差替グリップ])
- Screwdriver (兼古製作所 ANEX アネックス 76 [時計用精密ドライバー +0])
- Solder stand (白光 633-01 [ハッコー 633 599B 付 こて台])
- Soldering iron (白光 ダイヤル式温度制御はんだこて 基盤が見える クリアタイプ FX600A No.Y163)
- Soldering iron tip (白光 T18-C2 [こて先 2C 型])
Case
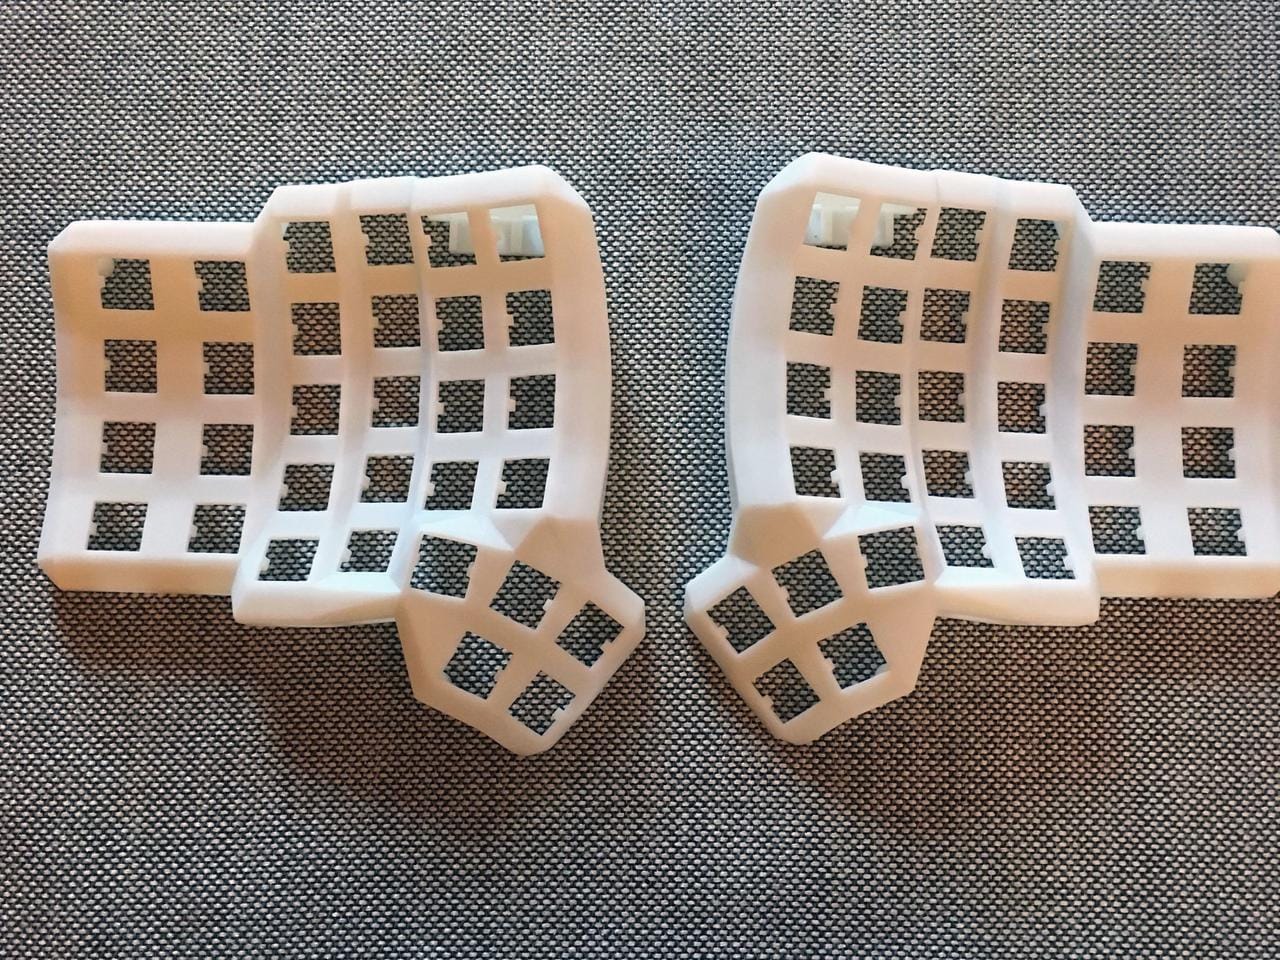
The case was printed by an industrial SLA printer at 100 microns, with ABS-like UV curable resin.
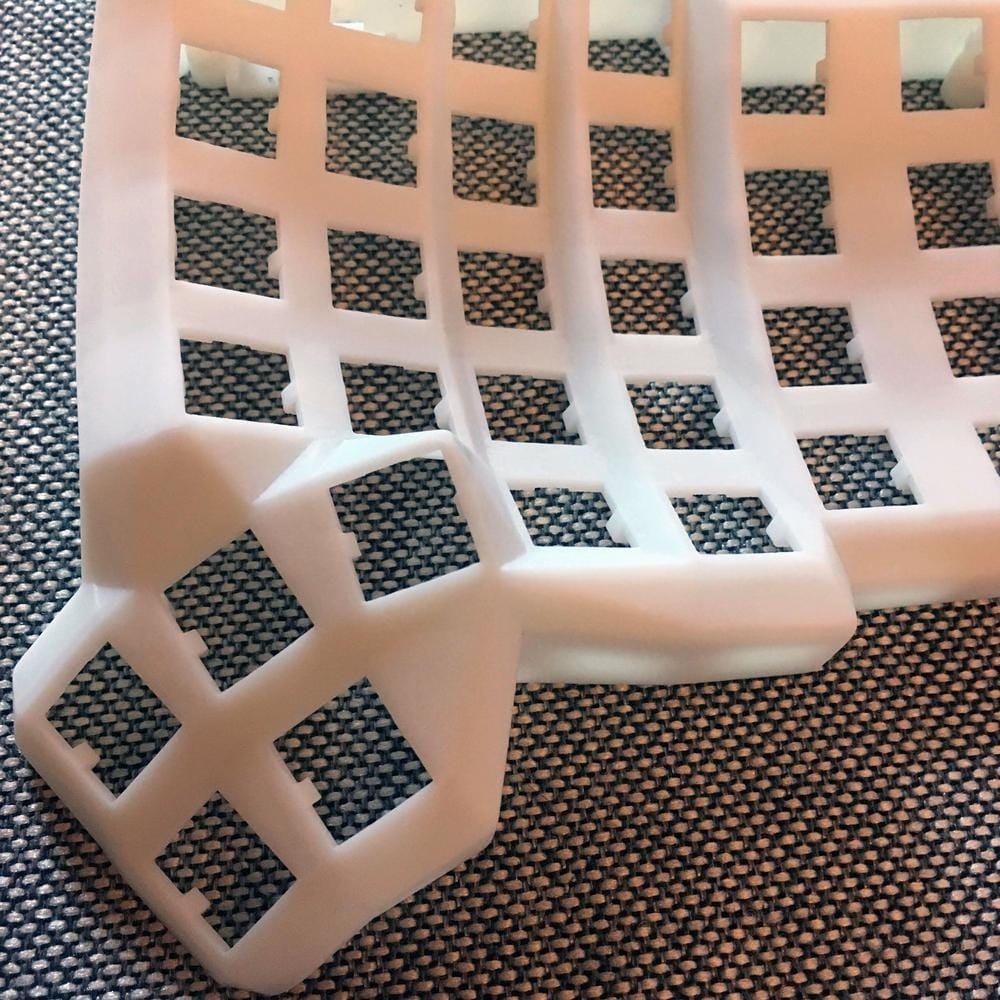
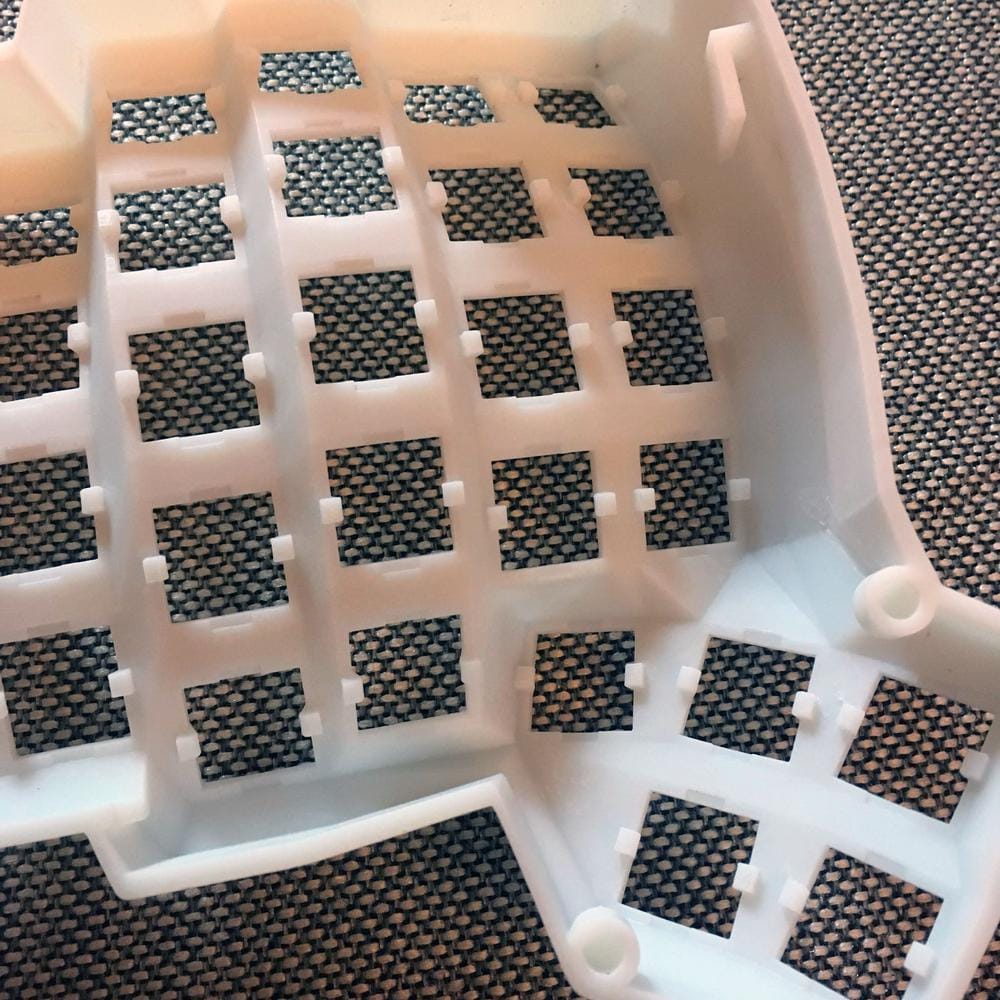
The original dactyl manuform is designed to be FDM friendly, commonly printed with PLA with 5mm thickness. For this print, the case is very sturdy with just 2mm thickness.
Sanding

The sanding paper used was Tamiya Finishing Abrasives (タミヤ フィニッシングペーパー 細目セット). At this stage, 400 and 600 grit wet sanding were performed.
Priming
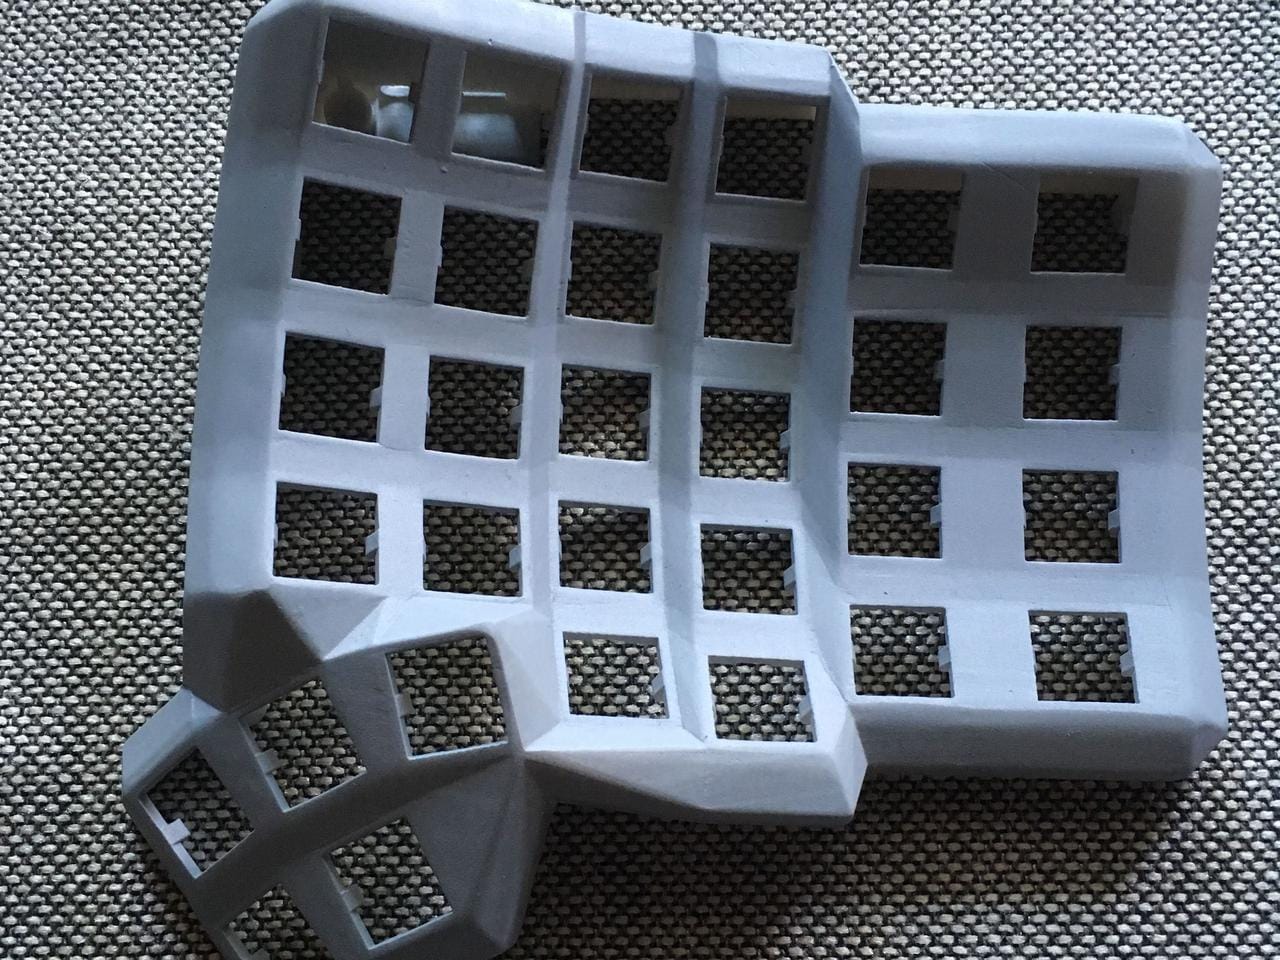
GSI Creos Mr. Surfacer 500 spray (Mr.サーフエーサー 500 スプレー) was used as a primer/surfacer. 3 layers were sprayed. Between each spray, 600 and 1000 grit wet sanding paper were performed.
Painting
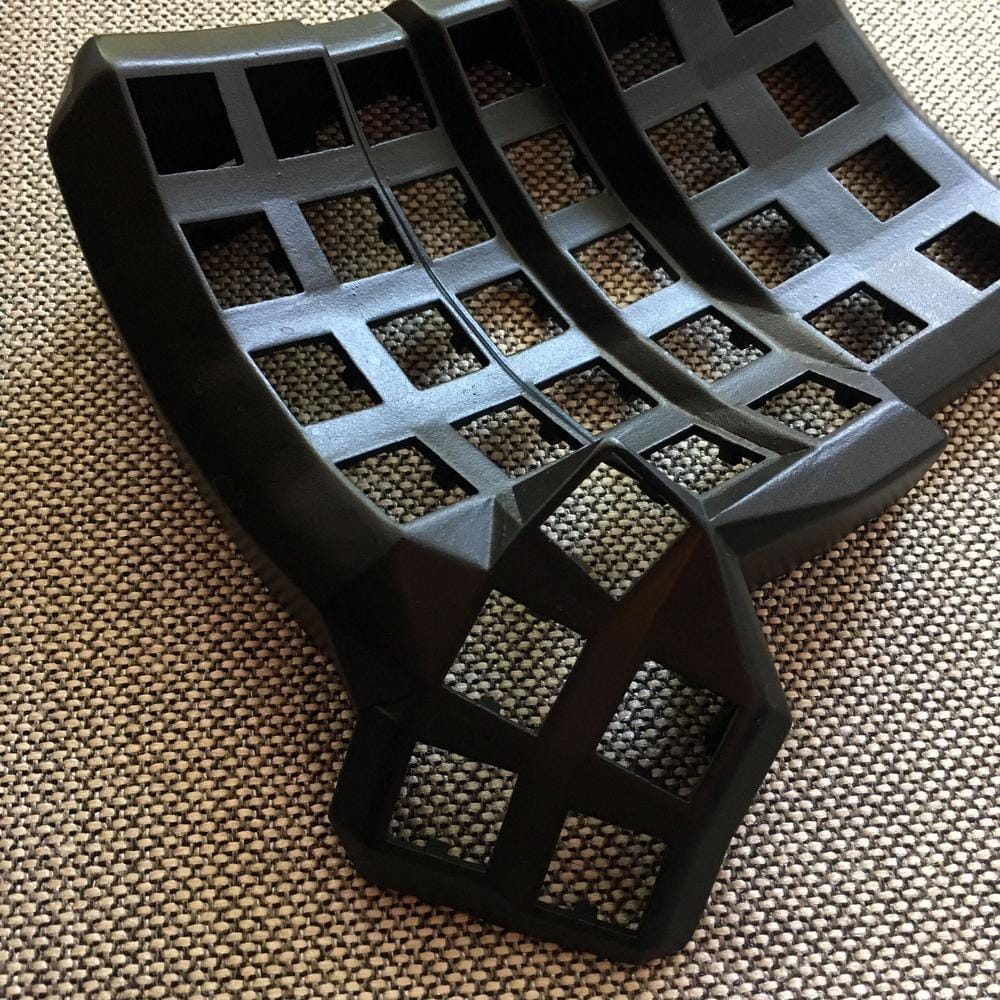
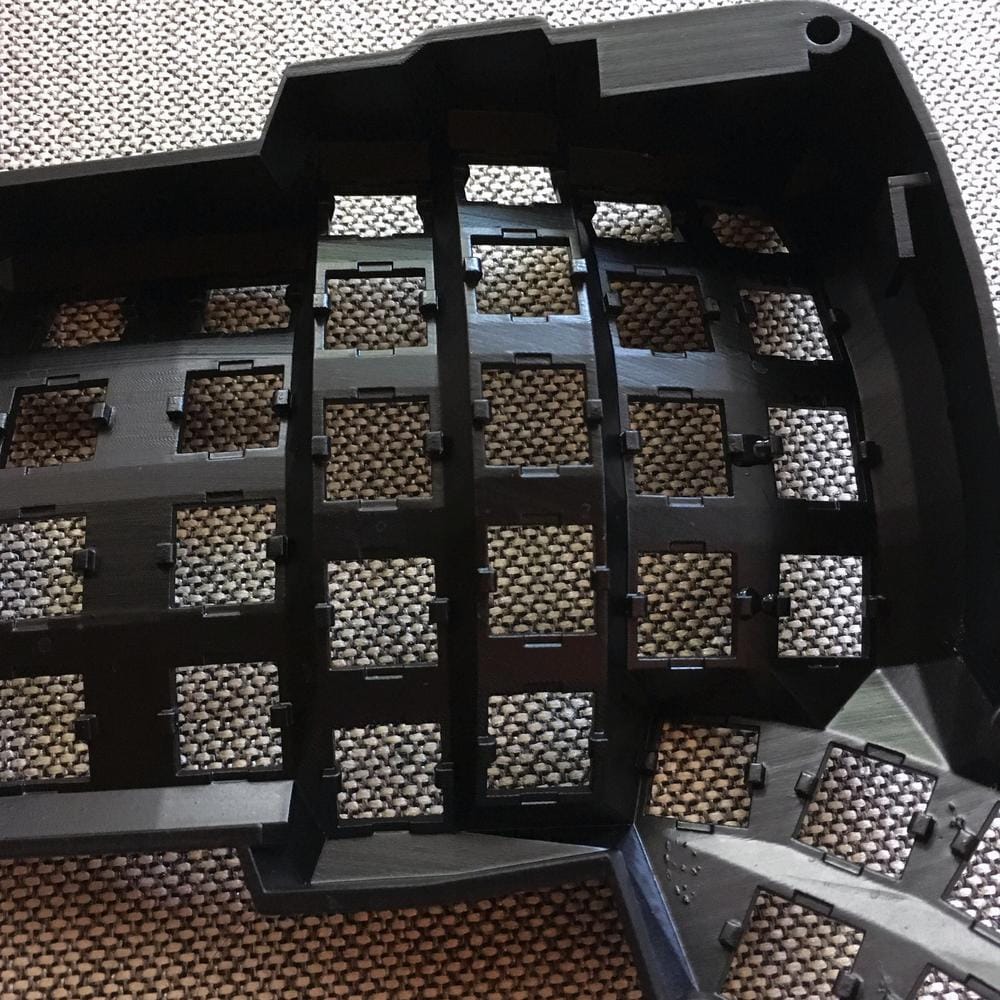
Asahipen black water-based spray (アサヒペン 水性多用途スプレー [300mL ツヤ消し黒]) is used. A great priming and spraying tutorial can be found on the Asahipen website.
Threaded Inserts
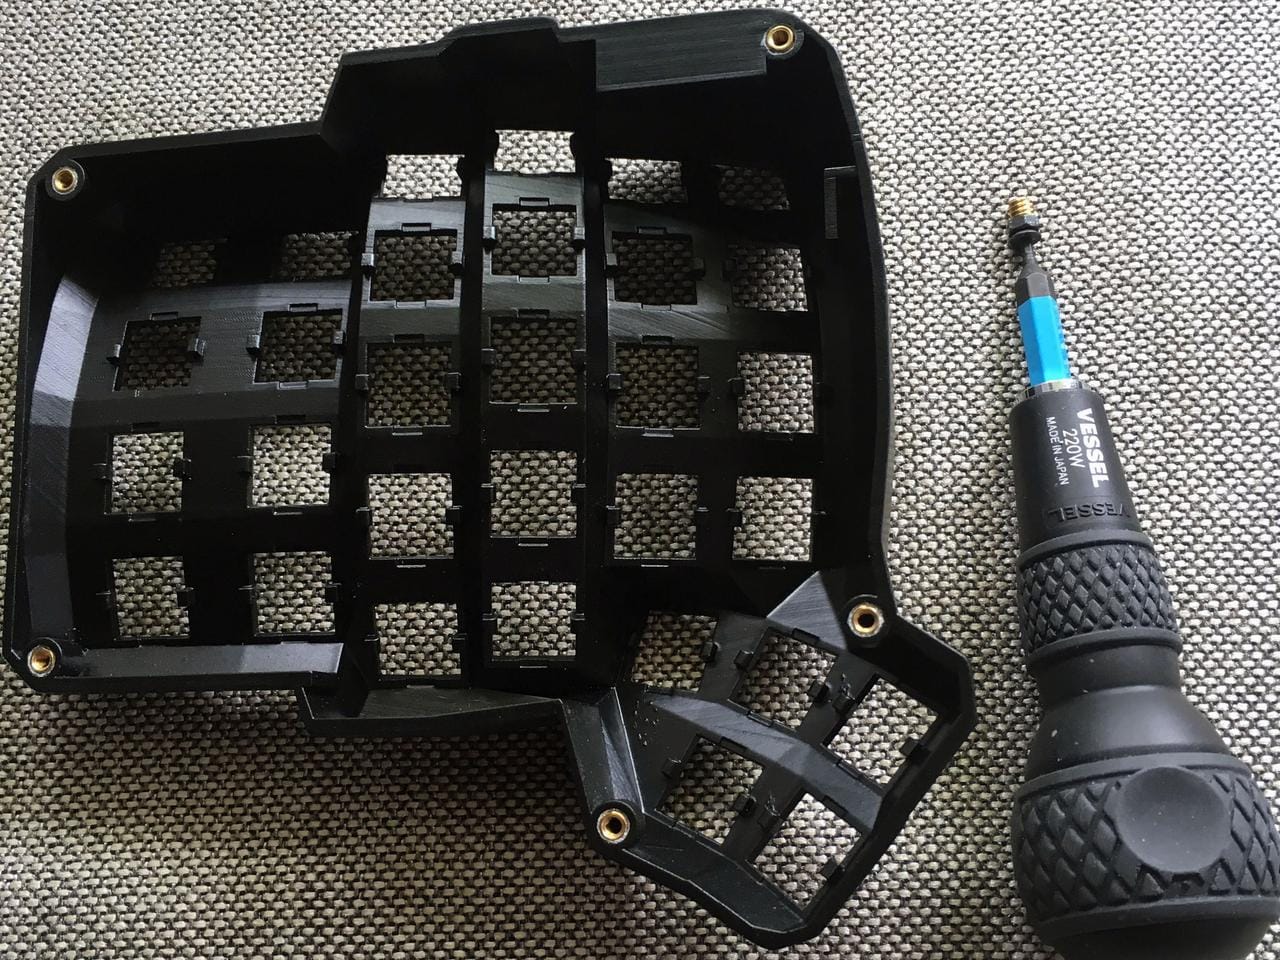
I used Tappex® brass self-tapping thread inserts 145M3. Heat-set threaded inserts cannot be used in resin 3D prints. A hex socket screw, instead of a Phillips screw, should be used.
Key Switches
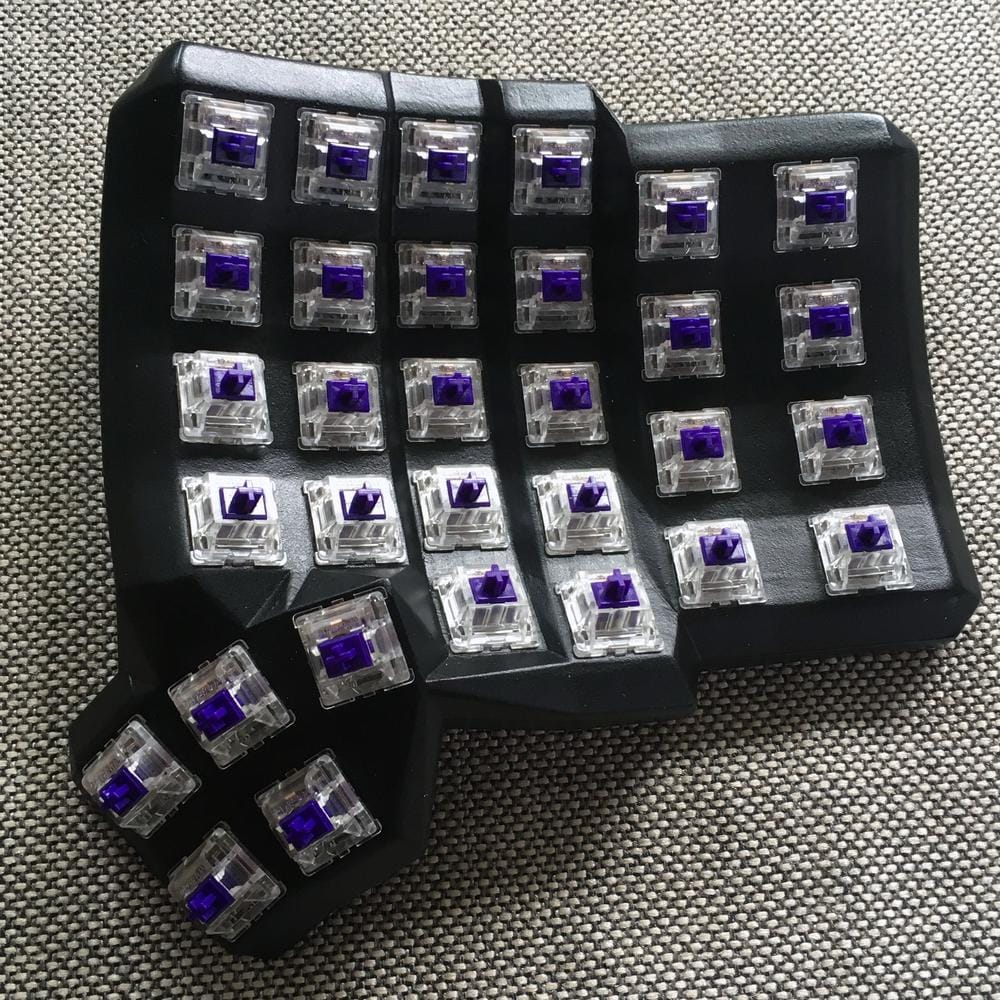
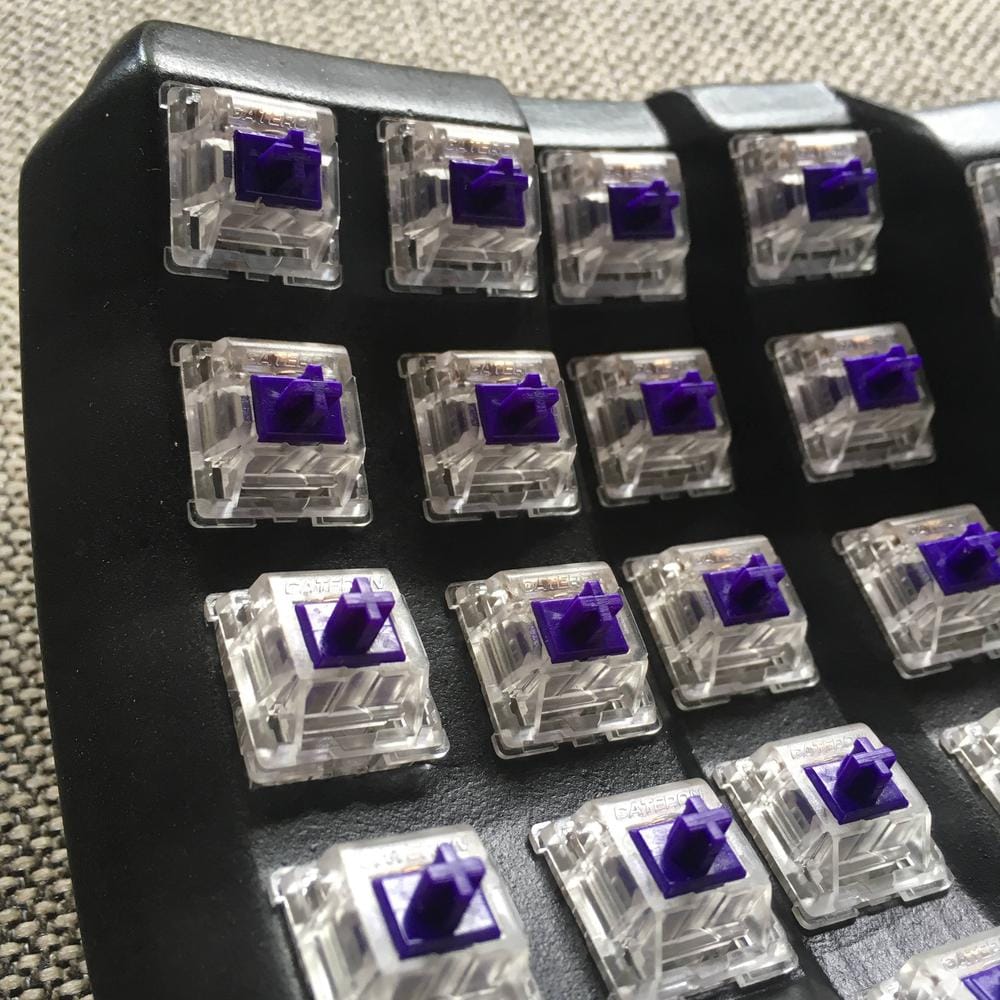
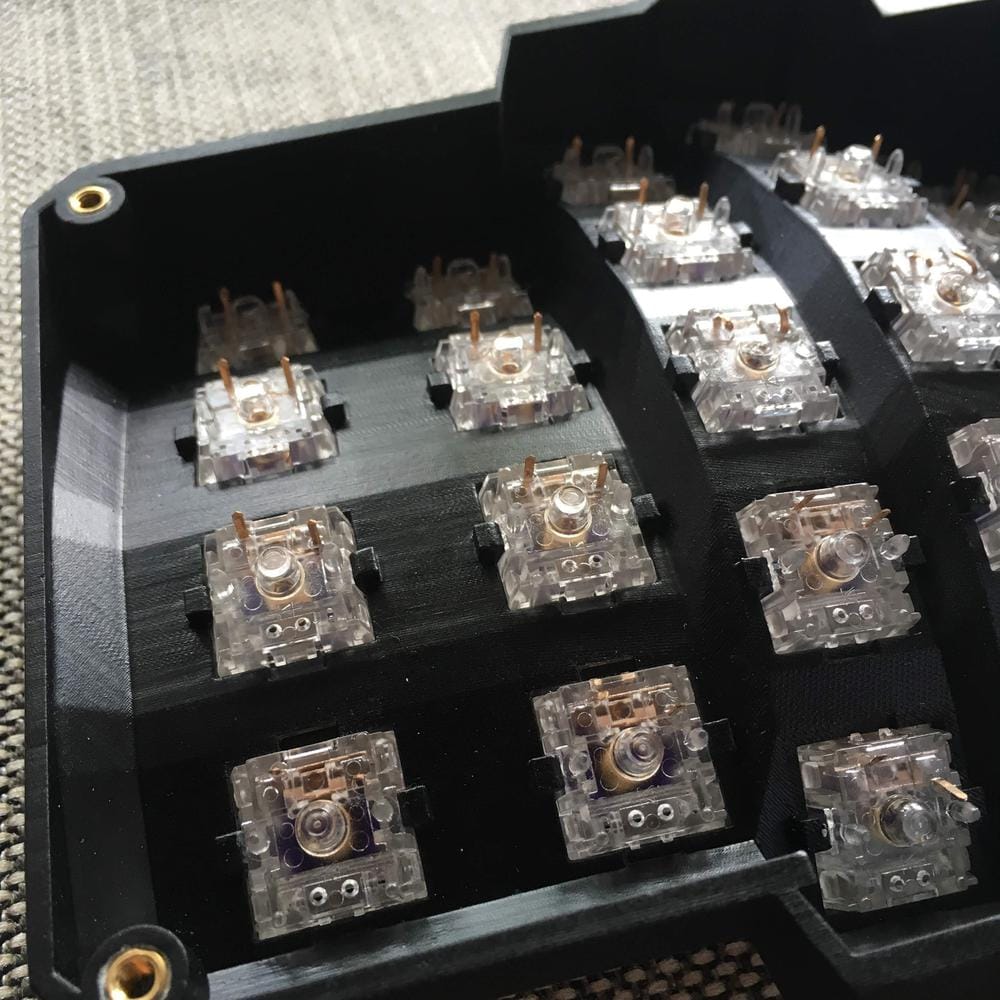
The original design uses 14.4mm for the switch holes. I’ve changed it to 14.1mm. The sidenubs can hold the Zealios 67g switches firmly, without using hot glues. Cherry MX, Zealios and other Gateron switches can also be used. If you use Kailh, Outemu, or other switches, remove the sidenubs from the 3D Model, and use hot glues.
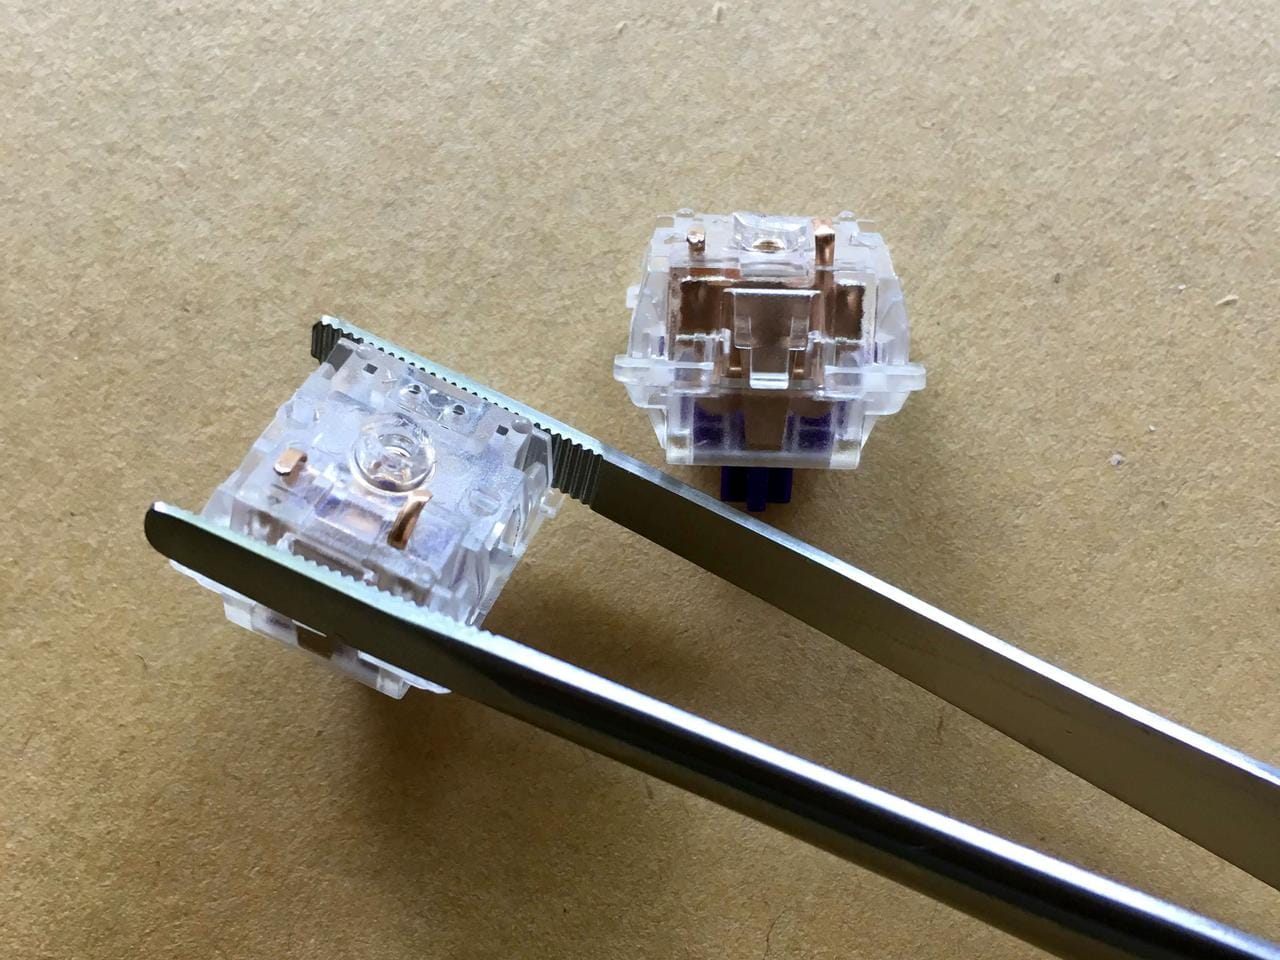
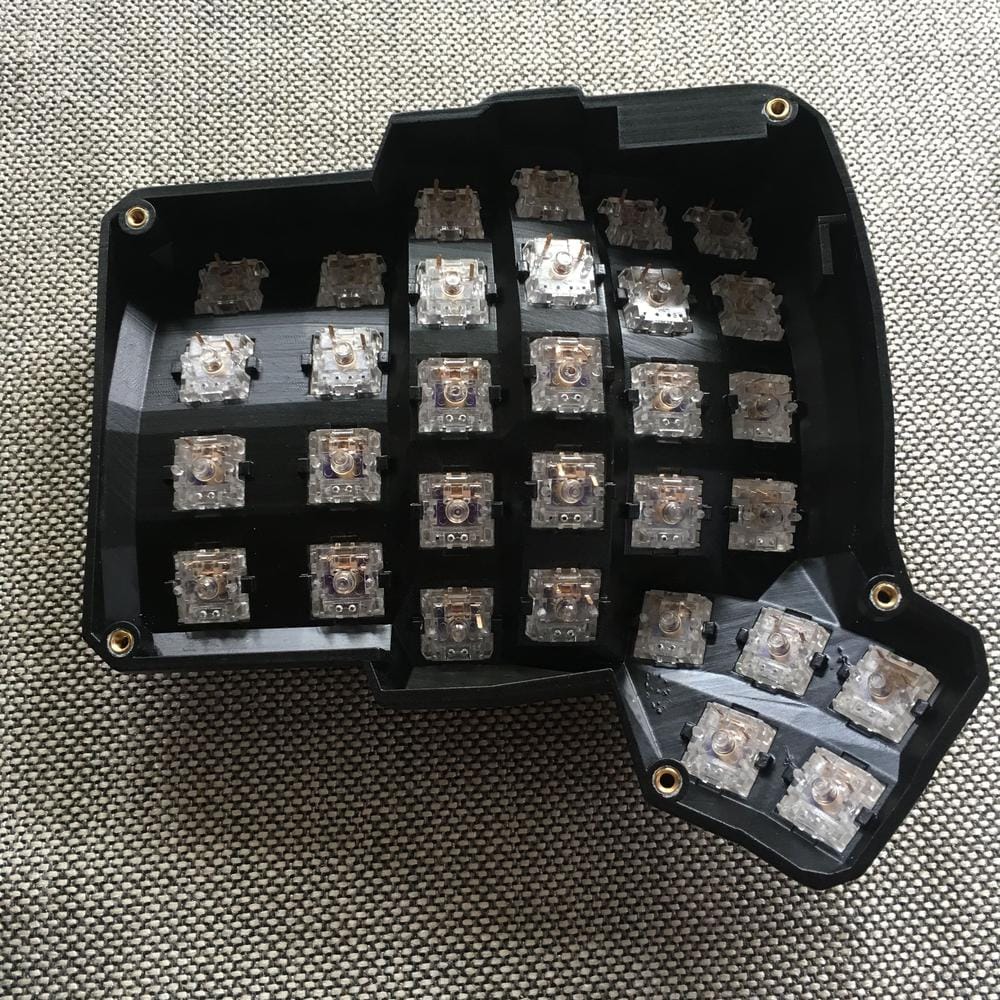
I removed the legs of the two middle switches, so that we can keep the overall keyboard height low.
Wires and diodes

50mm 26 AWG UL 3239 silicone wrapped 200°C lead wires are used. PVC wrapped wires (80°C) are not recommended because they are easy to melt.
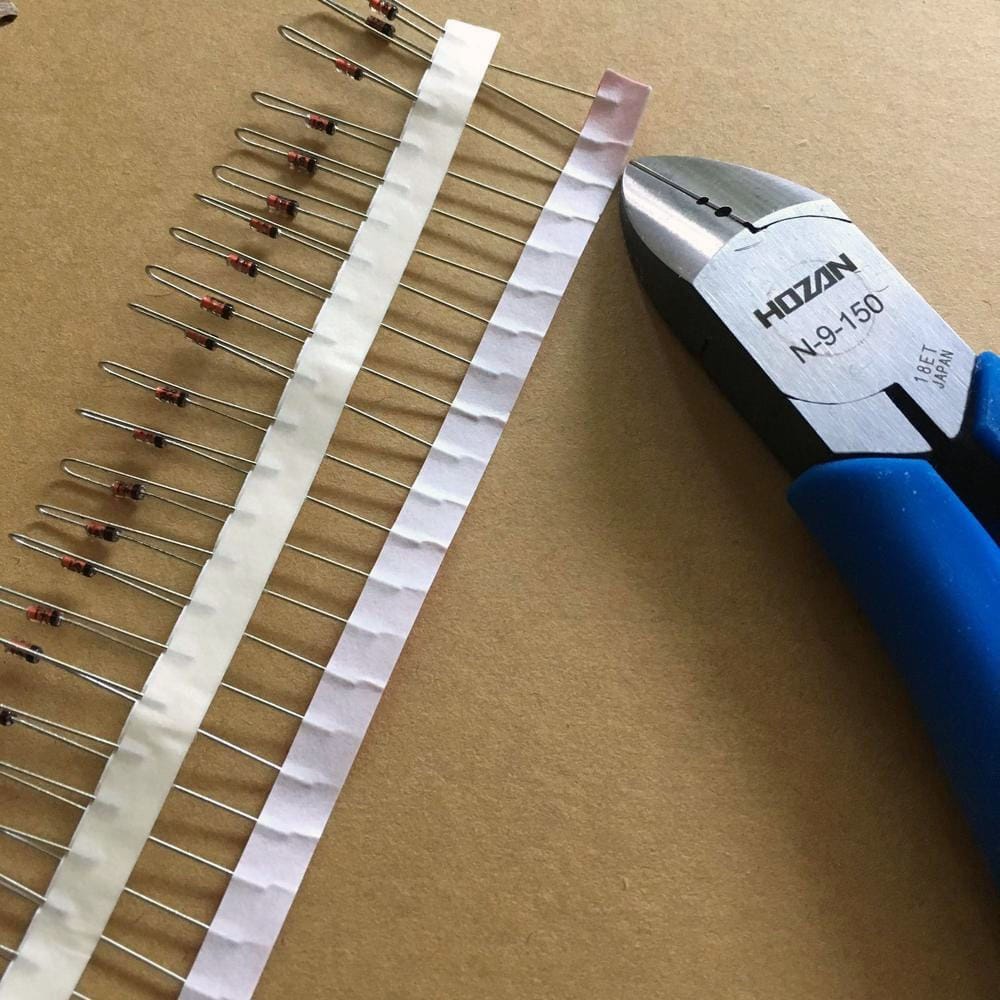
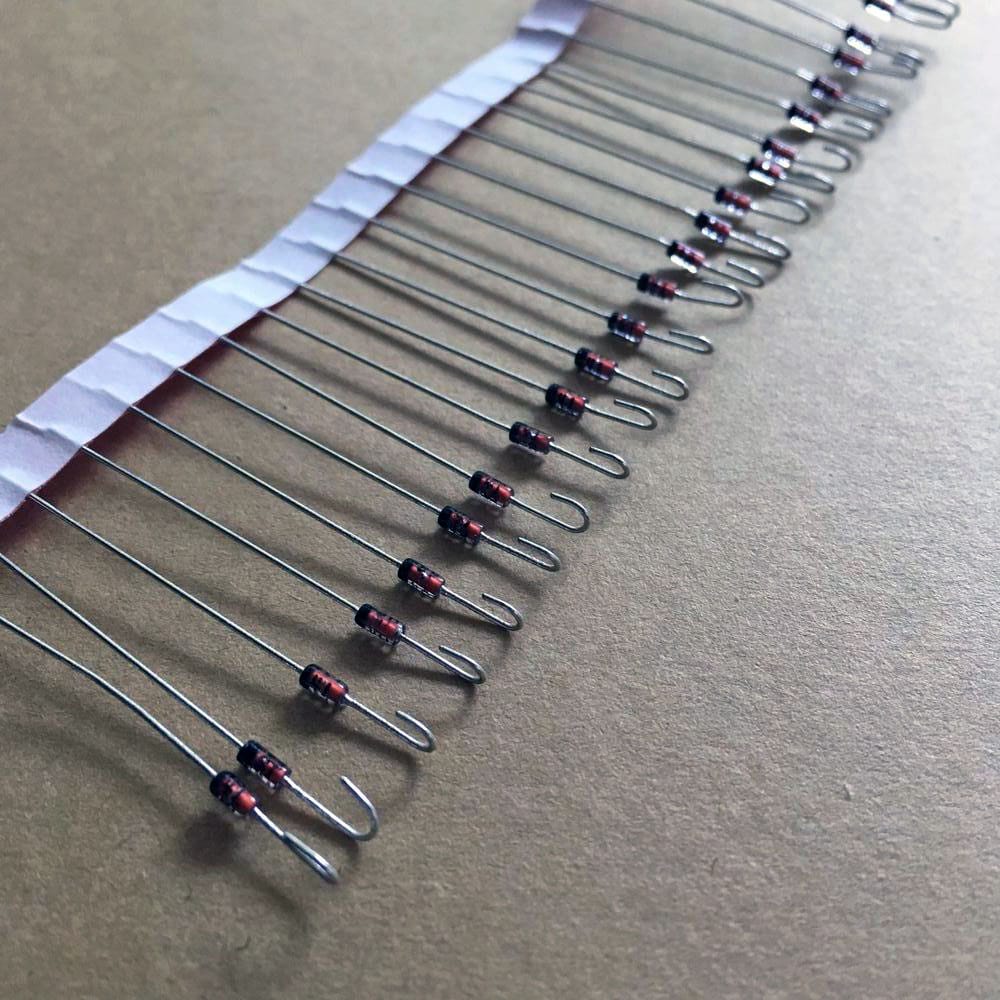
Bending the diodes in batch speeds things up.
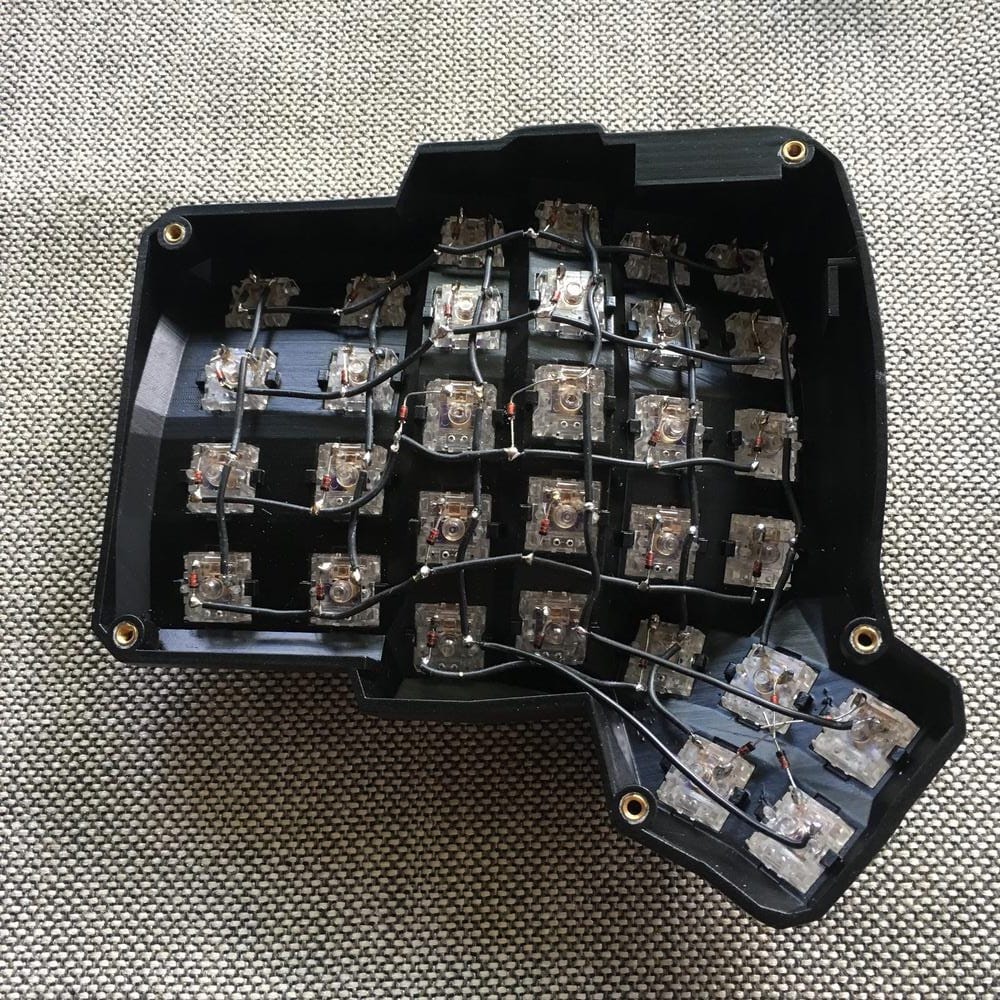
Wiring the matrix
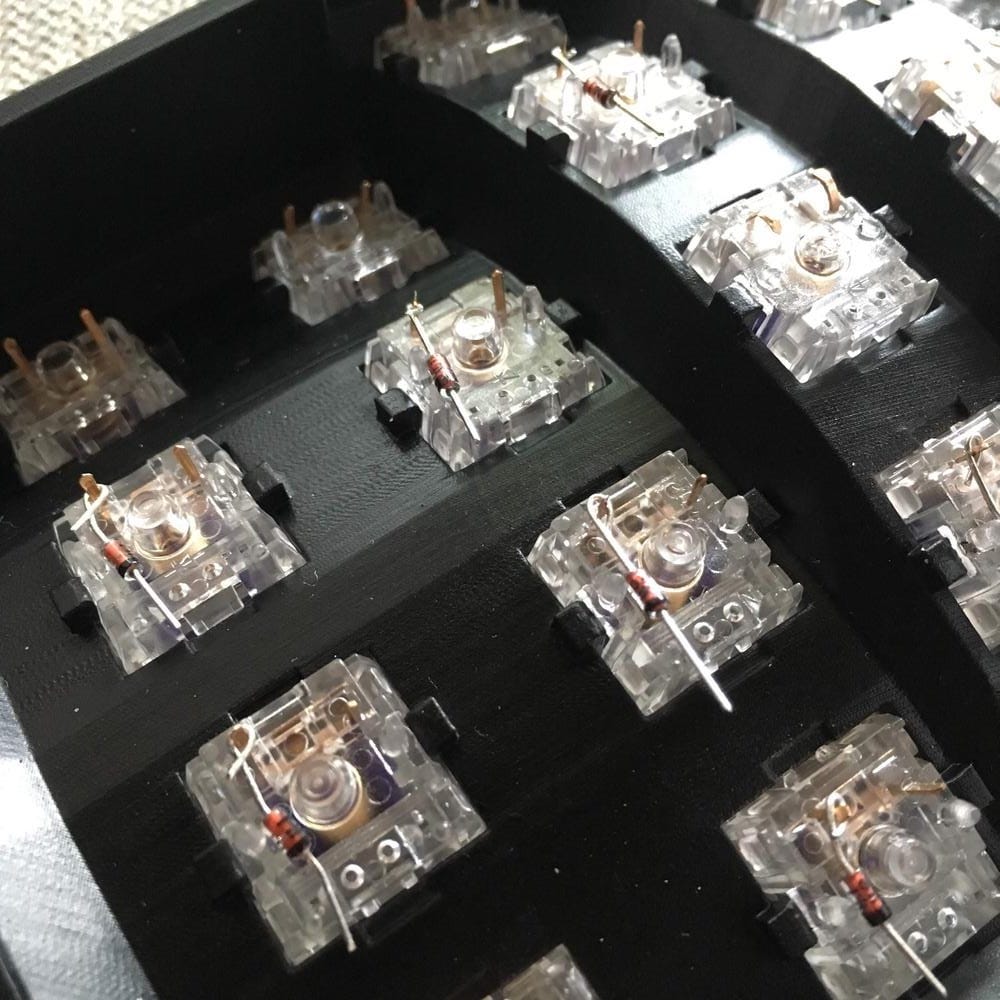
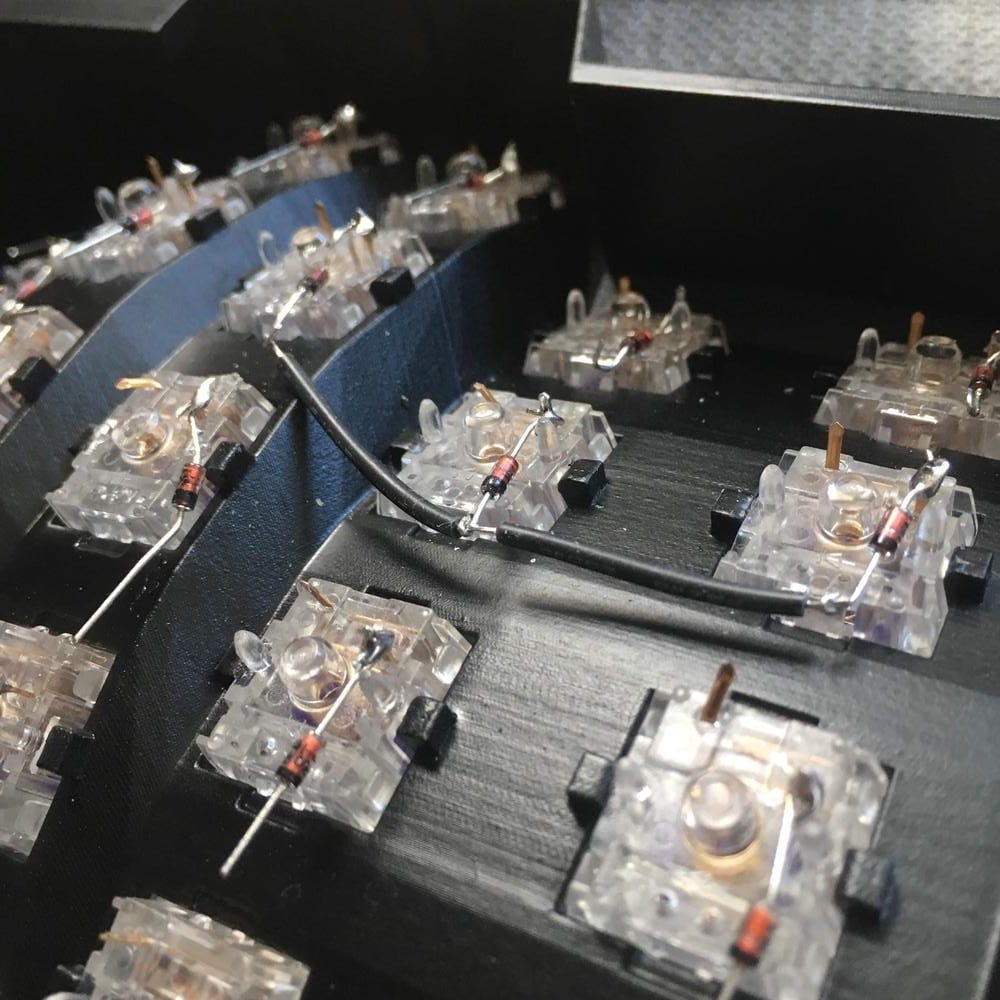
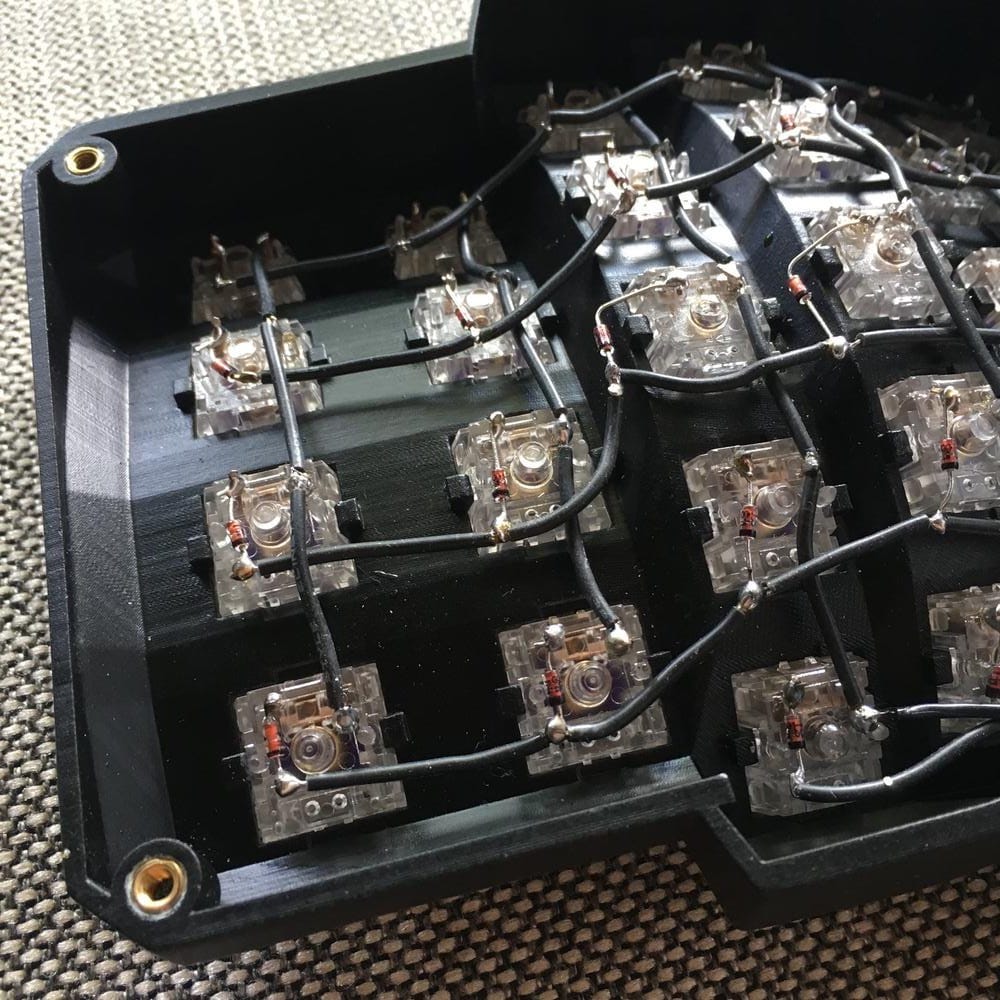
In the topphoto, a hook or a loop is formed around the connection to the switch. This makes the connection between the diodes and the switches stronger physically. In the second photo, the same idea applies to the connections between the wire matrix and the diodes.
Wiring the Arduino Pro Micro to the matrix and components
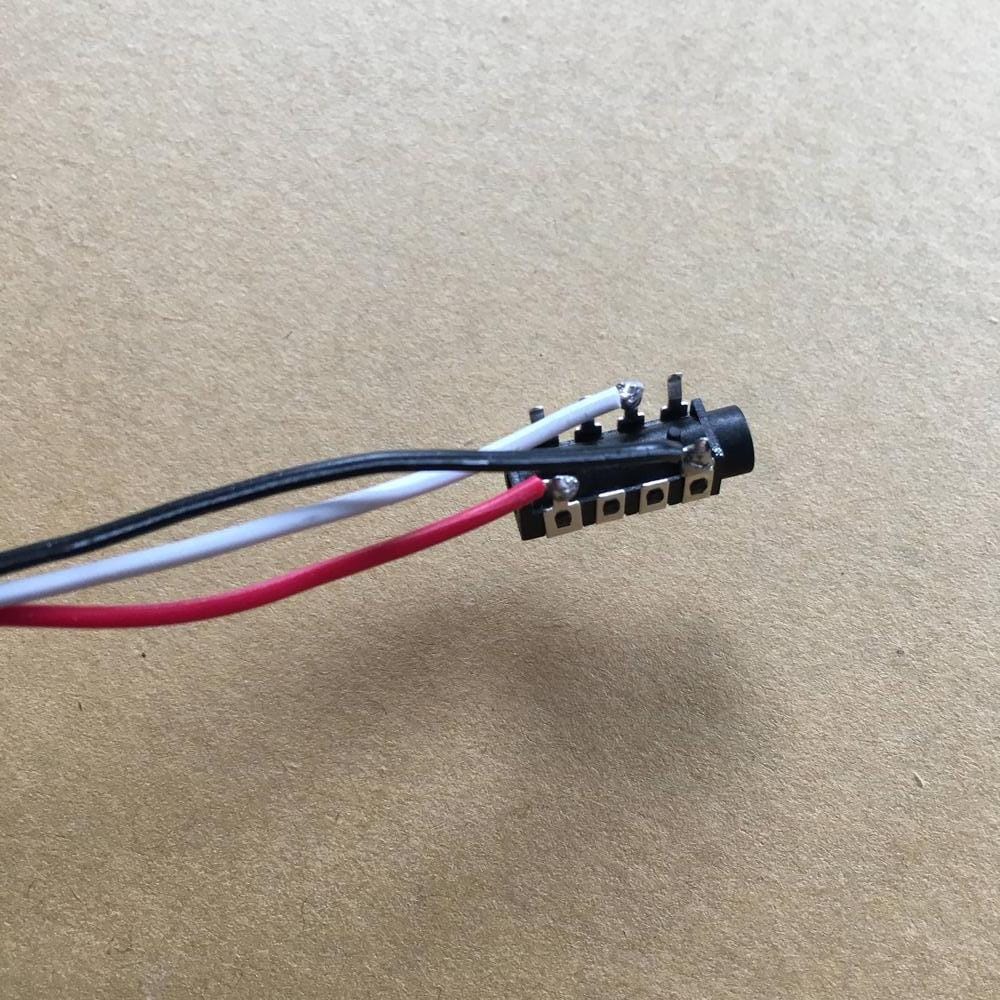
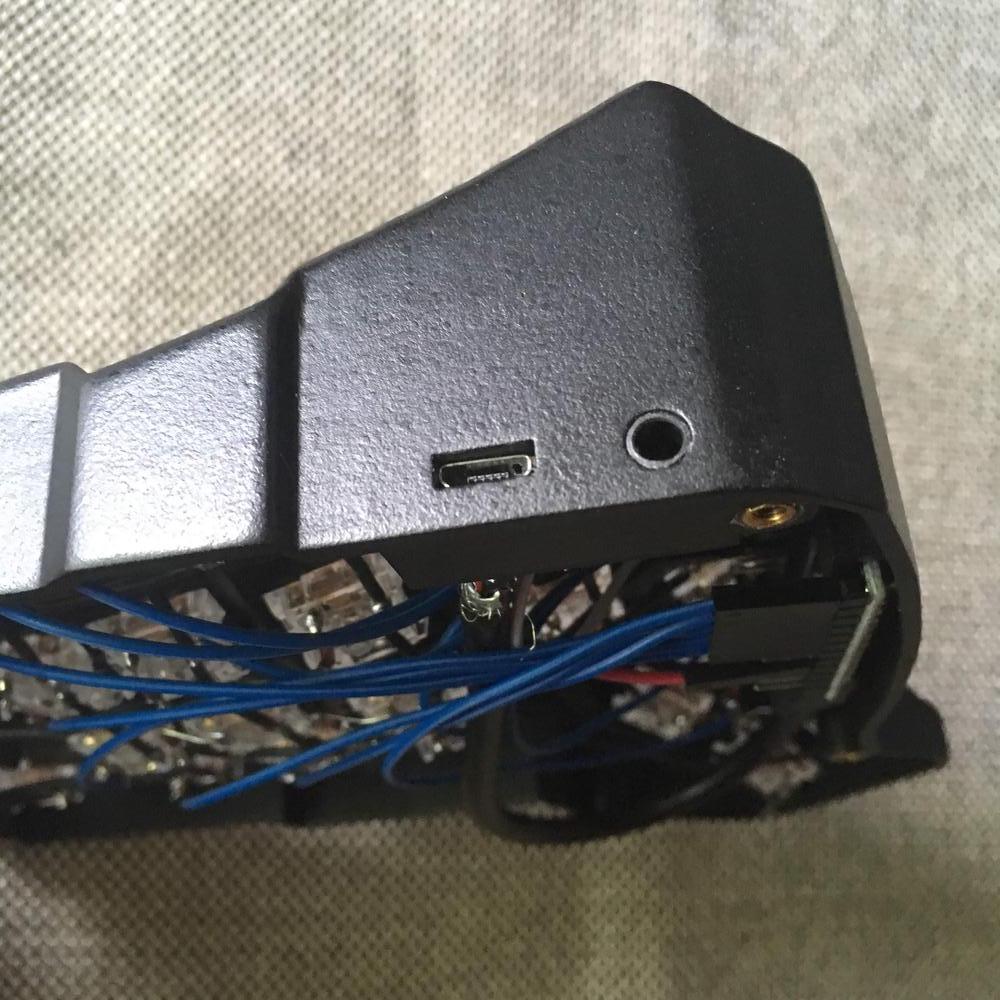
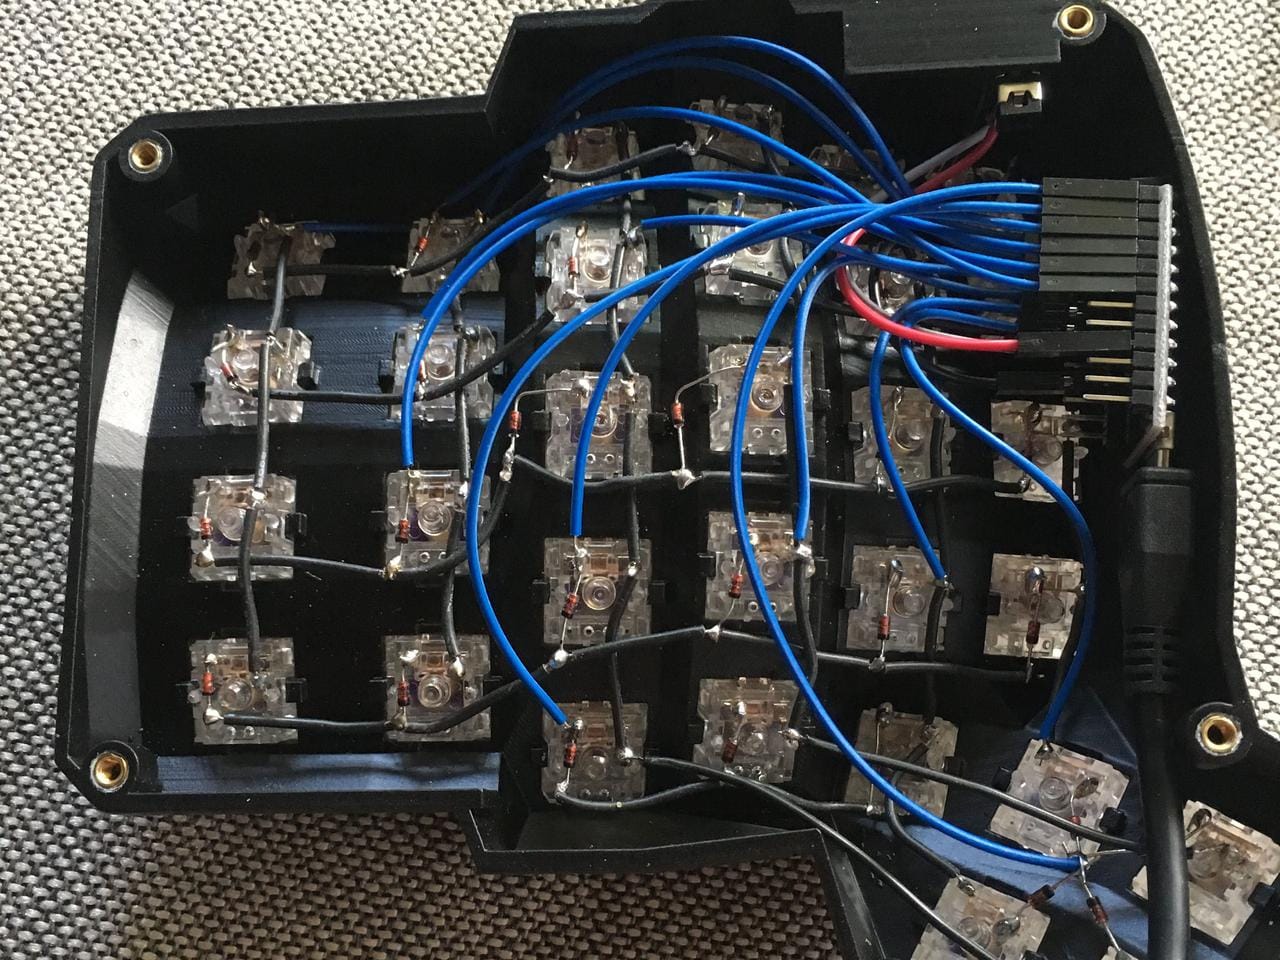
The pro micro is connected to the TRRS jack. A usb breakout board and a usb extension cable are used.
Final steps


A PMMA (acrylic) bottom plate with 3mm thickness is used. Flat-head screws are chosen for simplicity. Alternatively counter-sink screws can be used.
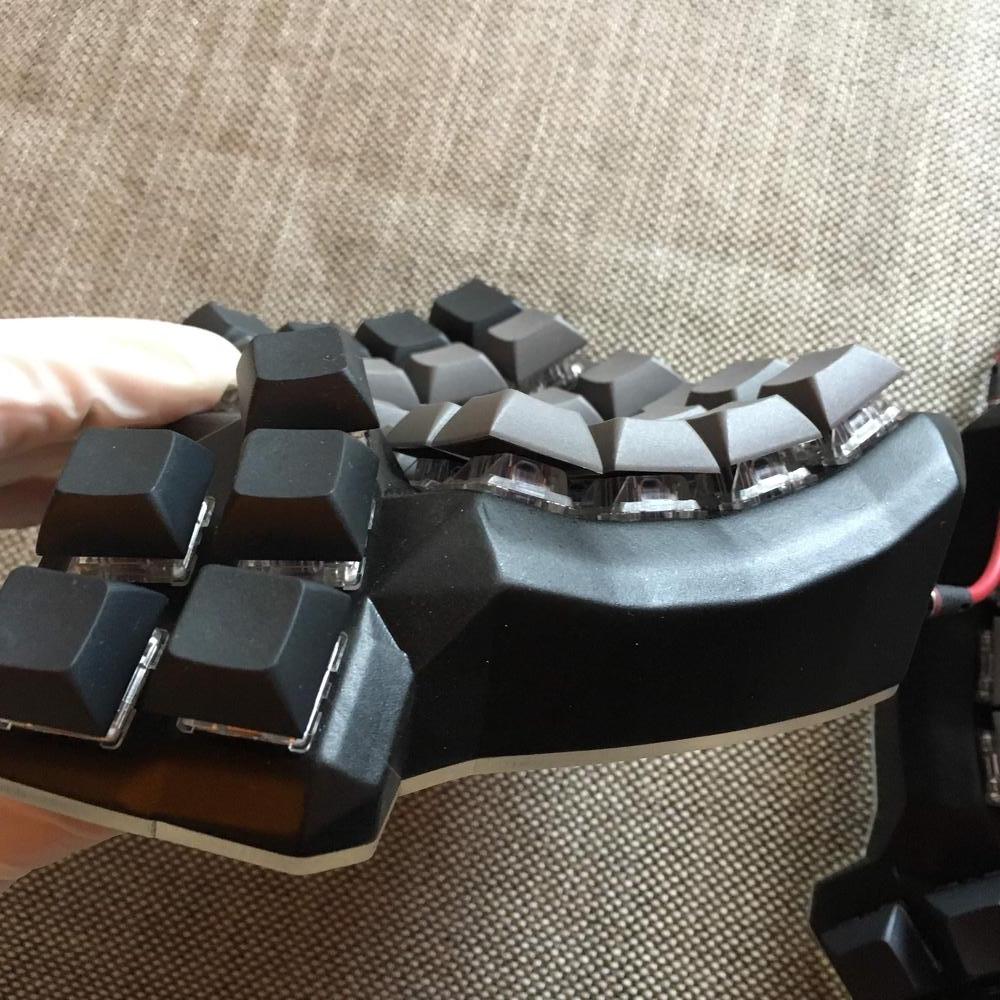
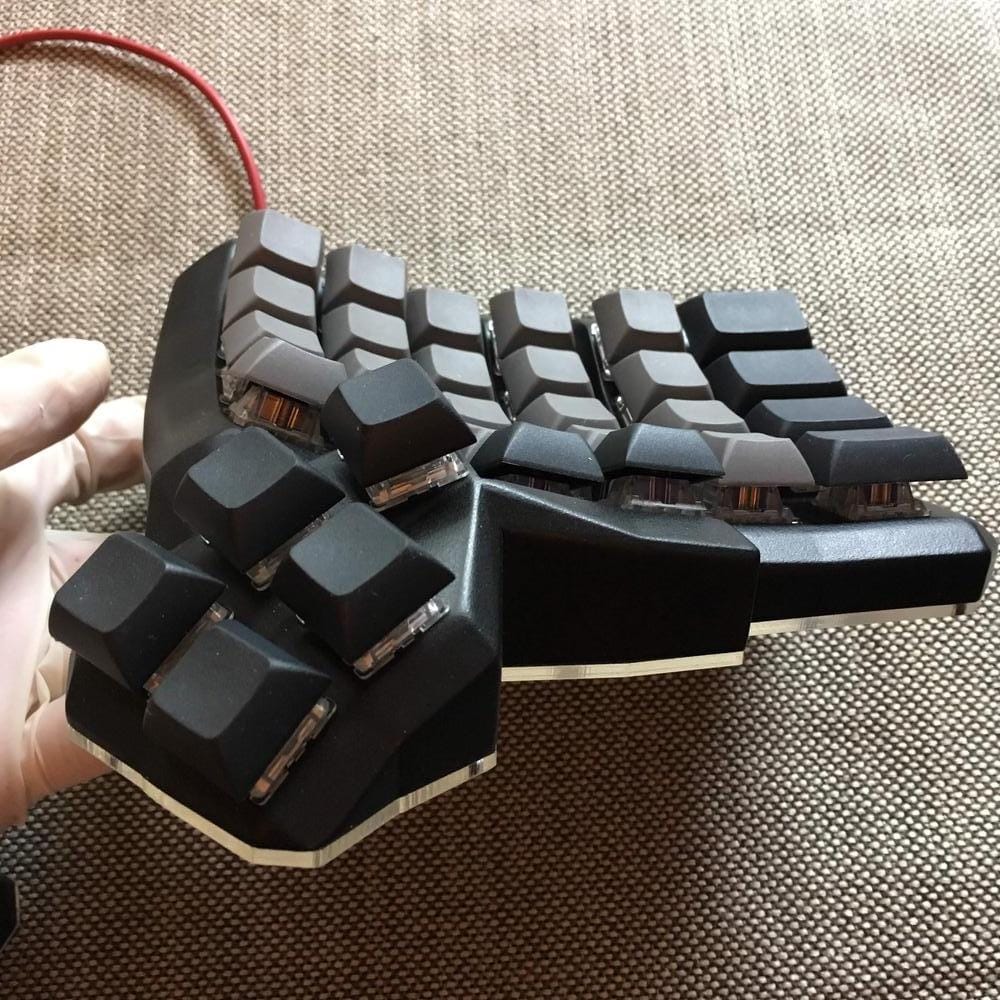
Finally, a two-color ErgoDox keycap set is used.
Dactyl Manuform Mini Builds By Other People
- https://www.thingiverse.com/make:681468
- https://www.instagram.com/p/B45oi9HHbNi
- https://www.reddit.com/r/ErgoMechKeyboards/comments/k6nf9s/i_printed_four_different_dactyl_cases_ucarbonfet/
- https://www.reddit.com/r/MechanicalKeyboards/comments/kjyu67/straight_to_the_deep_end_dactyl_manuform_mini_as/
- https://www.reddit.com/r/ErgoMechKeyboards/comments/m30uat/the_dream_and_the_reality_at_least_it_blinks/
Reference for makers
If you want to make your own, you can get the case and bottom plate below.
Case
Other Dactyl / Dactyl Manuform Makers
Plate
Use 3mm acrylic plates at ponoko, or any other laser cutting providers.
If you’re building this keyboard or if you have any questions, please let me know!
